LOGO ETCHING PROCESS; Far simpler process than I could have imagined, it uses a silk screened logo, a salvaged 15vdc, 1.5a power supply, Q-tips, and salt water.
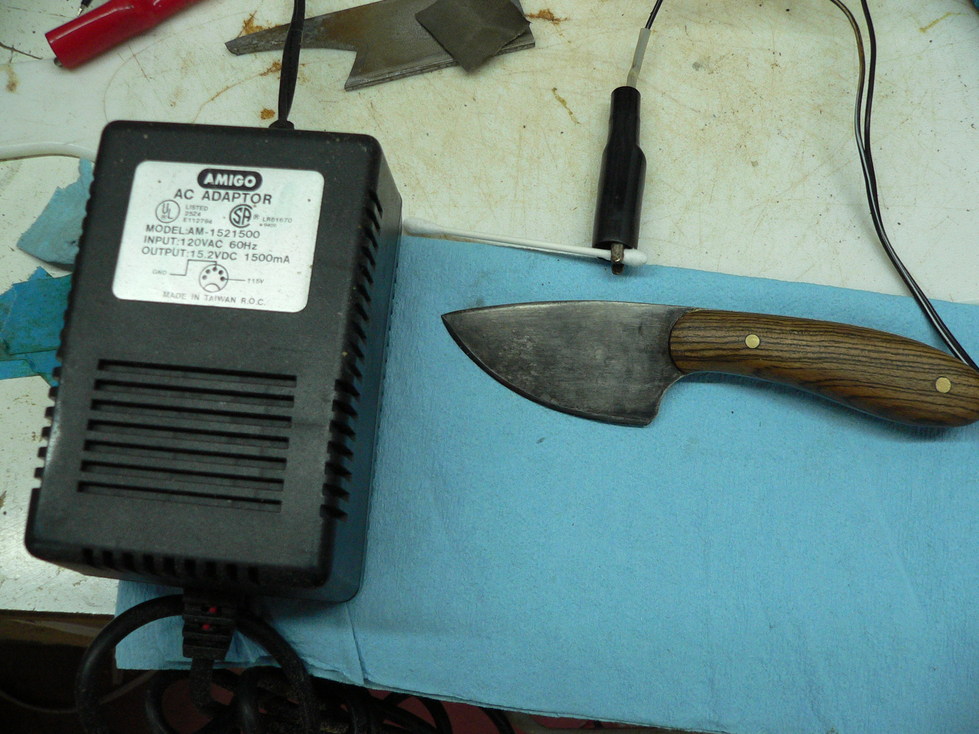
1. Knife blade, power supply, Q-tip.
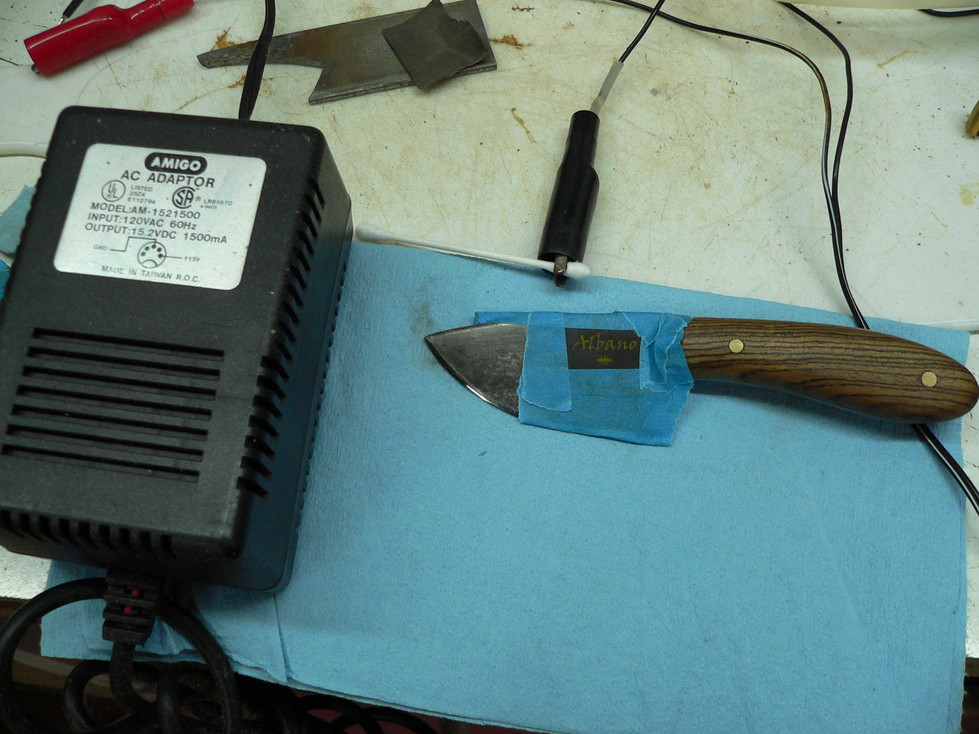
2. Logo taped onto blade, surrounding areas covered with tape to prevent stray etch marks
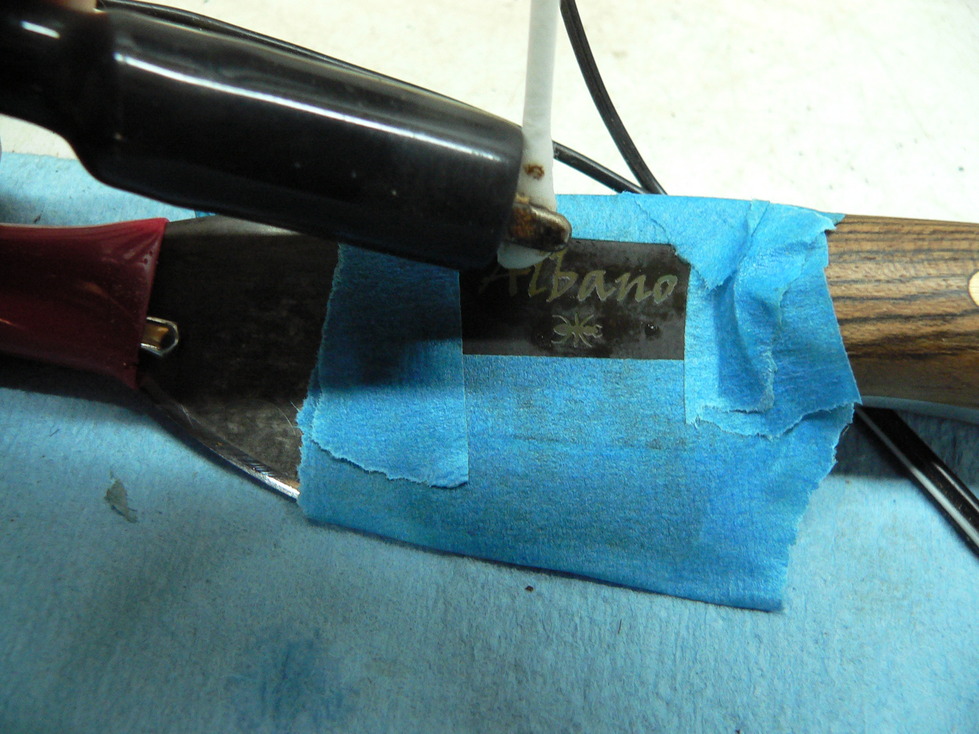
3. Positive (RED) clipped lead on knife blade and the silk screened logo being dabbed with the negative(black) clip on the Q-tip which has been dipped in salt water solution
4. Maybe 2 minutes time of dabbing the logo, and the schmooze that builds up on top of the logo
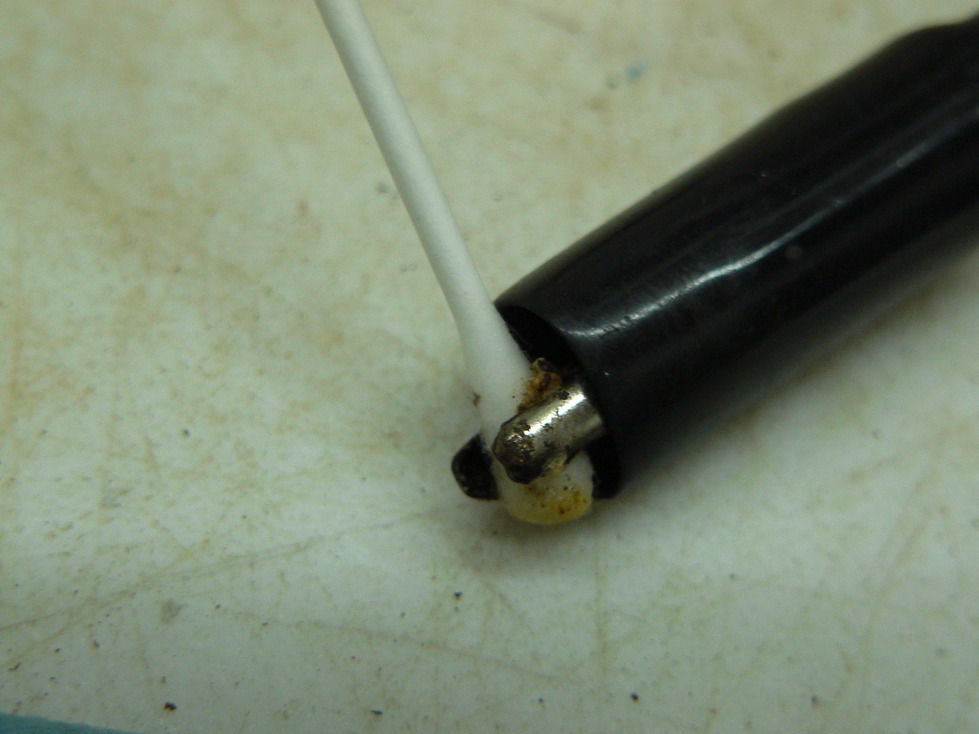
5. Shot of the Black lead showing the build up on the Qtip and the alligator clip
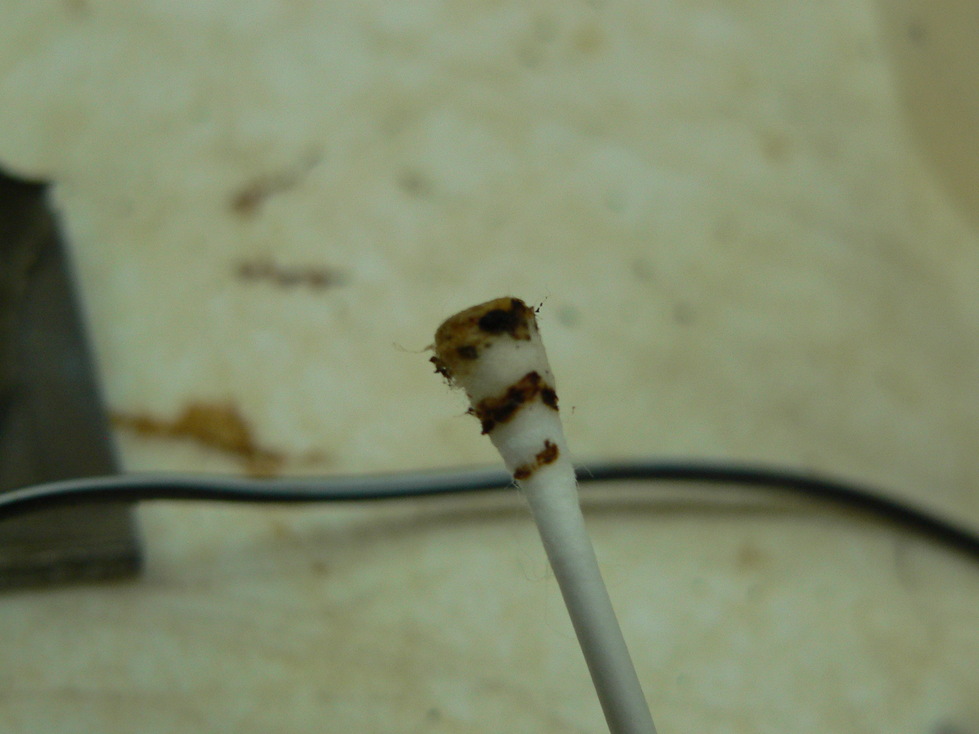
6. Shot of the Qtip when I switched ends. This is about a 5 minute etching process overall
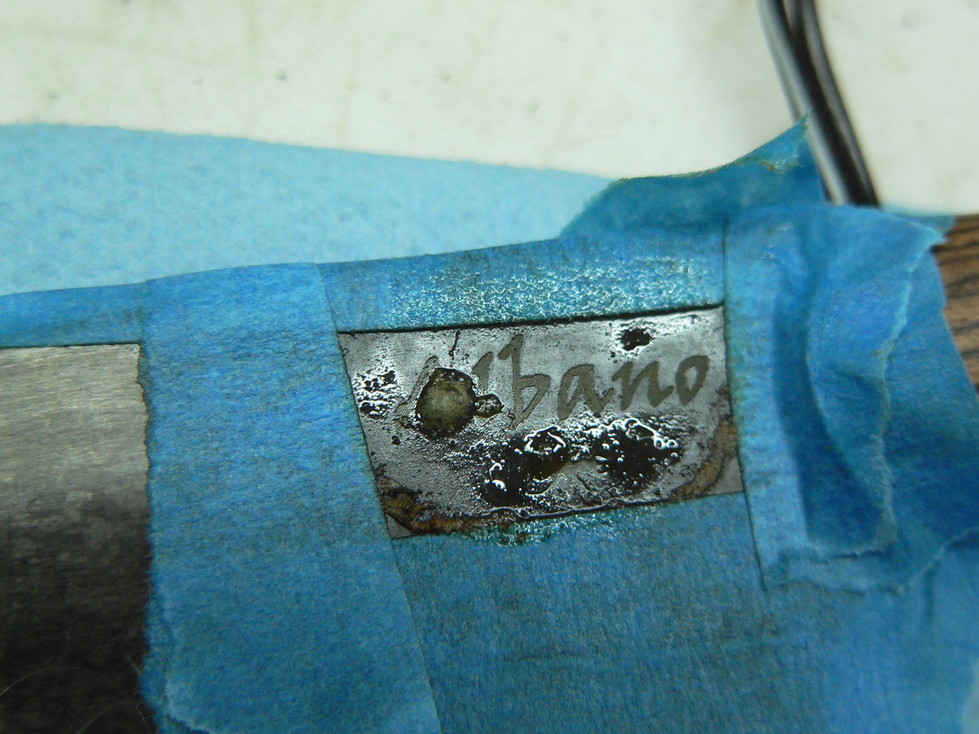
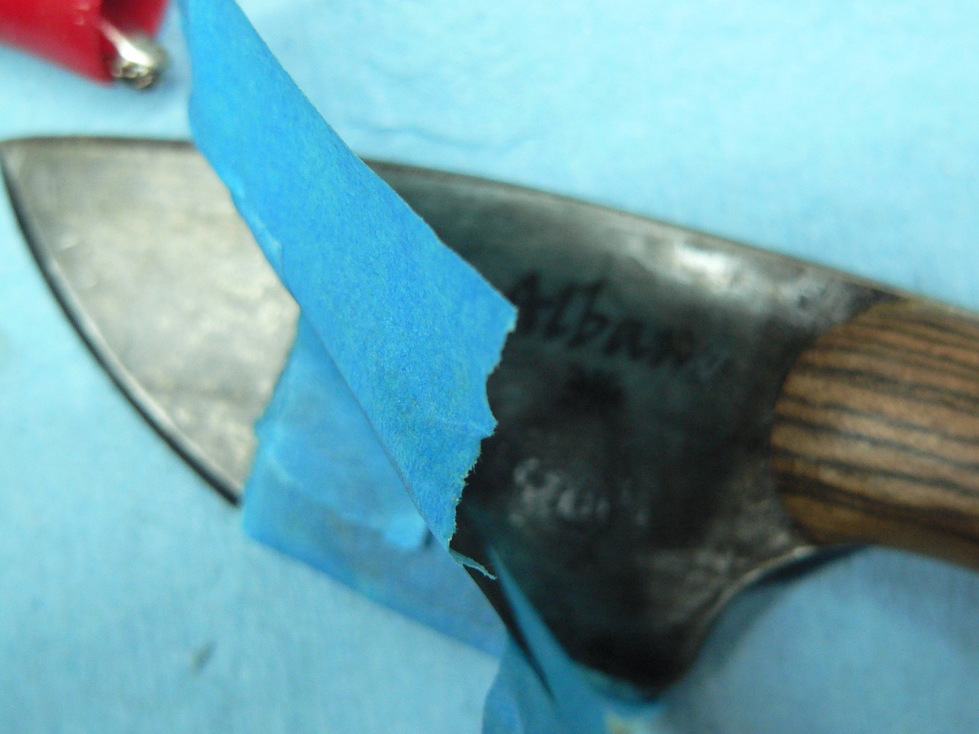
7. Peeling back the masking tape to remove the logo stencil and to see the etched pattern. Use a little detergent and rub the stencil front, back to clean it off. I have used this stencil so far on about 6 blades.
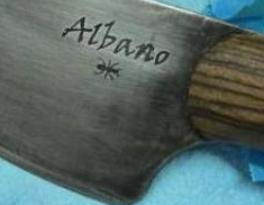
8. The finished etched logo, also look at the Shell Knife on this site to see a great etch. I put a little Casey Cold Blueing on the design and then rubbed with 600 sandpaper to clean it up. To get an idea of the detail, the main part of the ant body is 3/16". It is easy to see the legs which are about a hair in thickness. I can feel the depth of the etch with my fingernail so lightly sanding the finished logo does not sand it off.
http://www.erniesknives.com/ This is where I bought my stencil. Very fine person to deal with, the site has all the info you need to stencil
http://usaknifemaker.com This is where I bought the etching solution for carbon steels; $5.00 and you only use drops at a time to saturate the Q-tip
1.
2.
3.
4.
5.
6.
7.
8.
This is the stencil prior to taping down on blade.
