Knife Forge, Grinder, Jigs
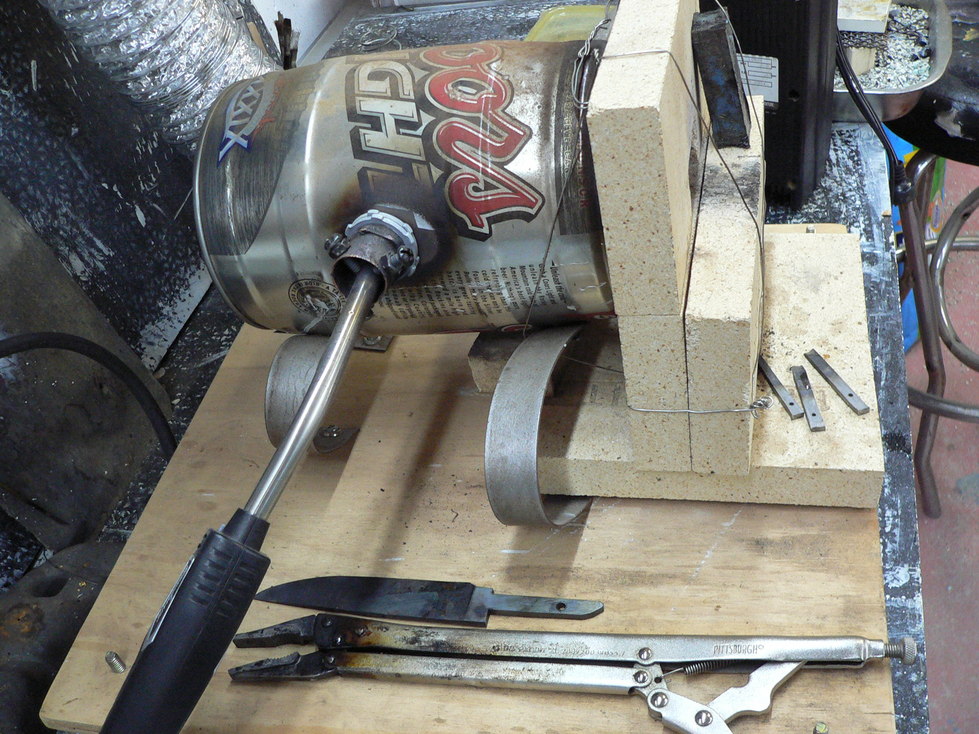
The COORS FORGE is
lined with 2" of insulating wool that is coated with a heat resistant clay wash. There is also a hard fire brick on the floor of the forge. Hard fire bricks cover the front with one notched to be the mouth of the forge. The black rectangle at the front is a magnet to help determine critical quenching temperature.
I use MAPP or propoane gas and both come up to temperature pretty quickly.
Based on design ideas from
Wayne Goddard's $50 Knife Shop Book and also
www. zoellerforge.com/miniforge site
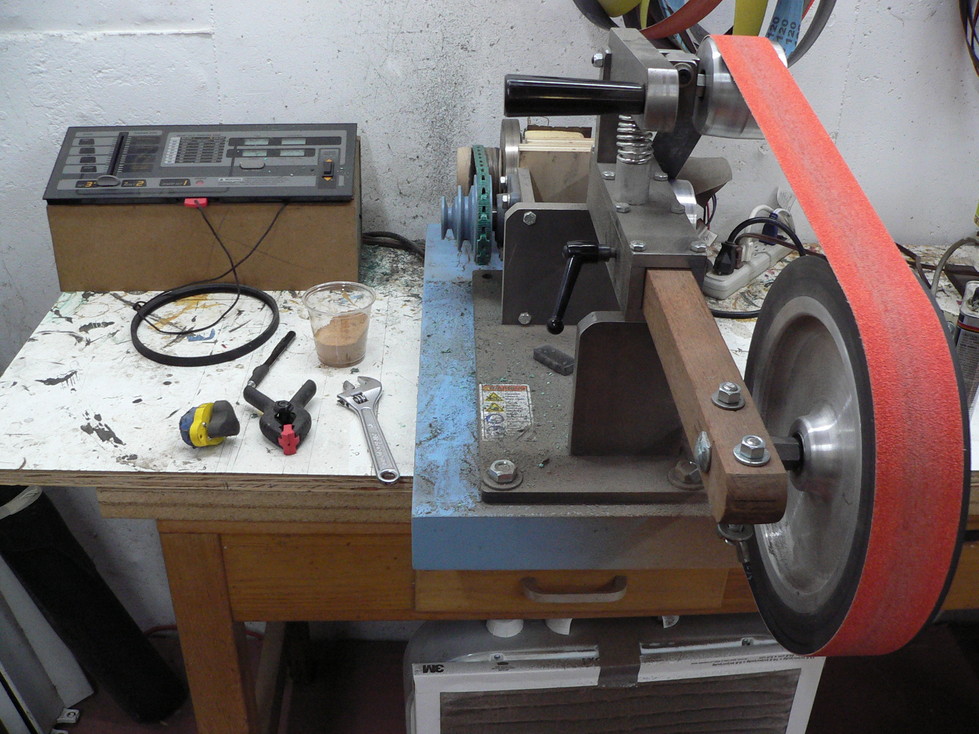
Knife Grinder powered by a Treadmill motor
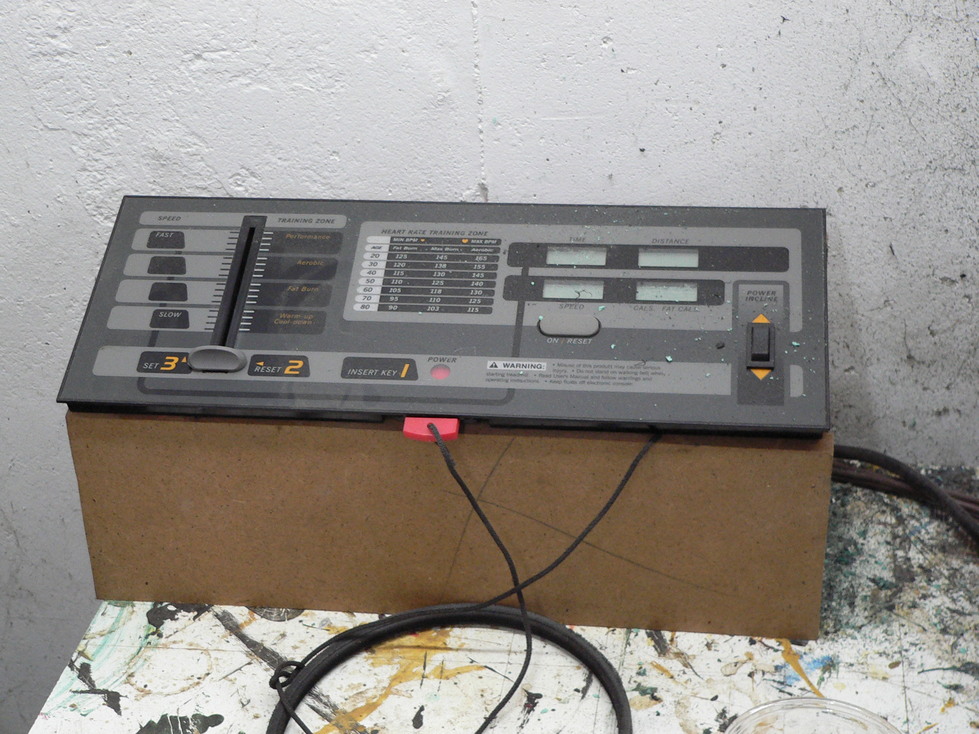
This is the KMG grinder shown with a 10" wheel. The tool arm supporting the wheel is made of Ipe (wood), no its not rusted. This wood is so dense its almost like a synthetic. SO far so good. Also made support arms for my other grinder attachments with Ipe. The box to the left is the treadmill motor controller. This setup gives me variable speed control for the grinder motor. Again, so far so good. Found the treadmill for free on Craigslist, felt bad taking it apart but who likes running on treadmills?
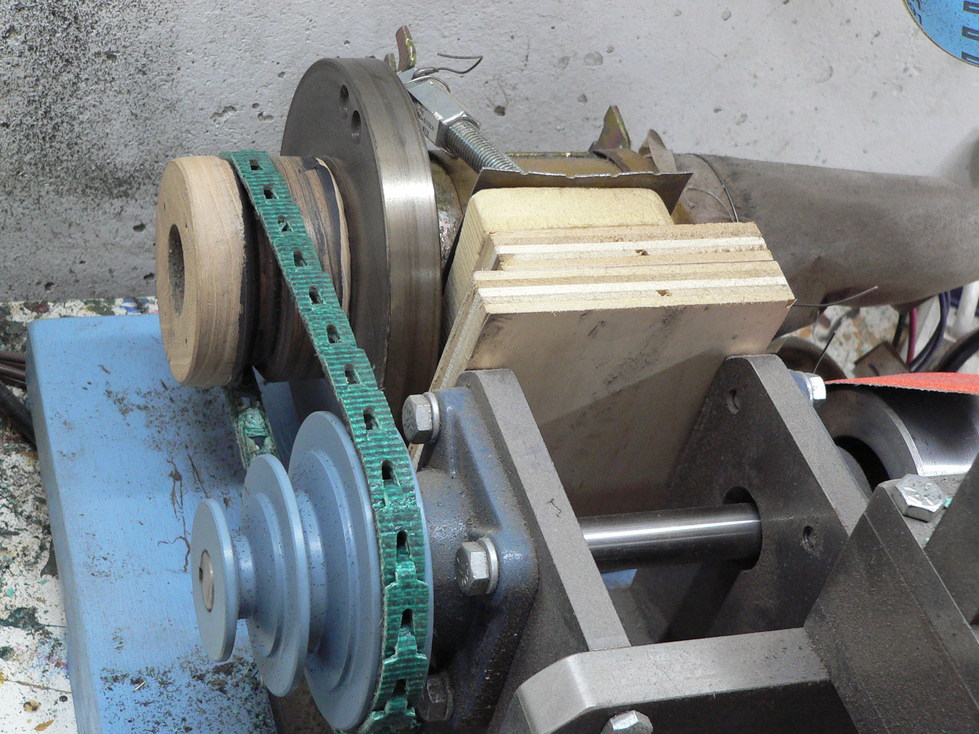
Close up of the treadmill motor showing the wooden pulley that I turned on a lathe to work with the grinder. The wooden blocks and the
all- thread assembly is my funky belt tensioning mechanism device that I haven't replaced yet.
To the right of the wood blocks is a grey colored thing; its a cloth over the actual motor to keep metal particles out of the motor. I vacuum it every so often.
This is a close-up of the speed controller. It almost fits well in its custom box. One day I will hook the sensor up to the motor to get a readout on my speed. Or maybe not...
Knife Making Jigs
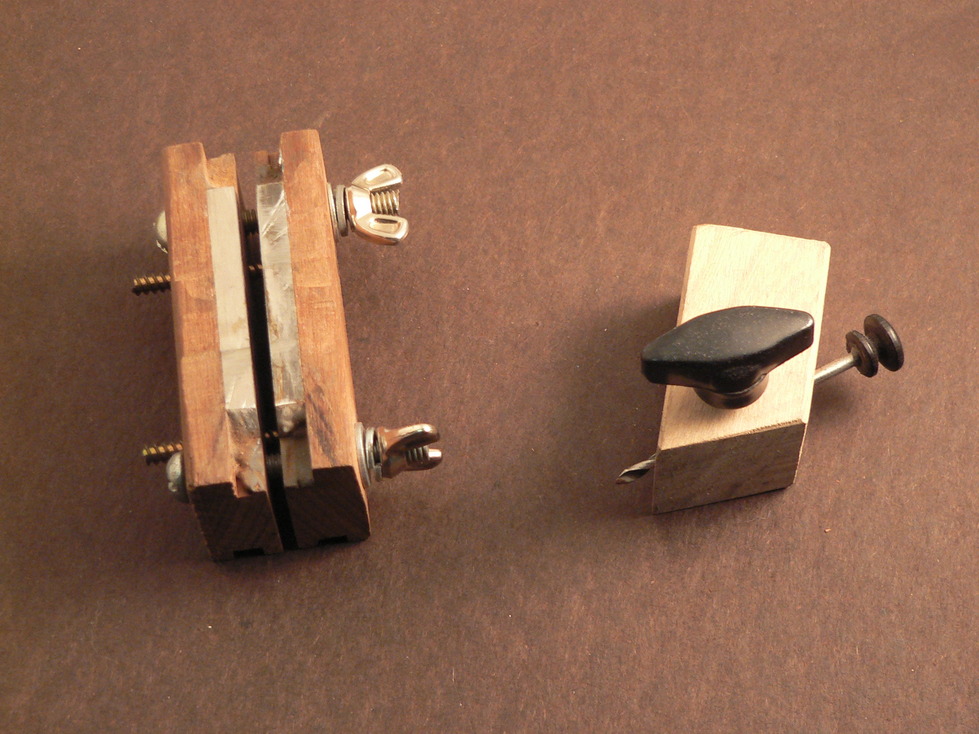
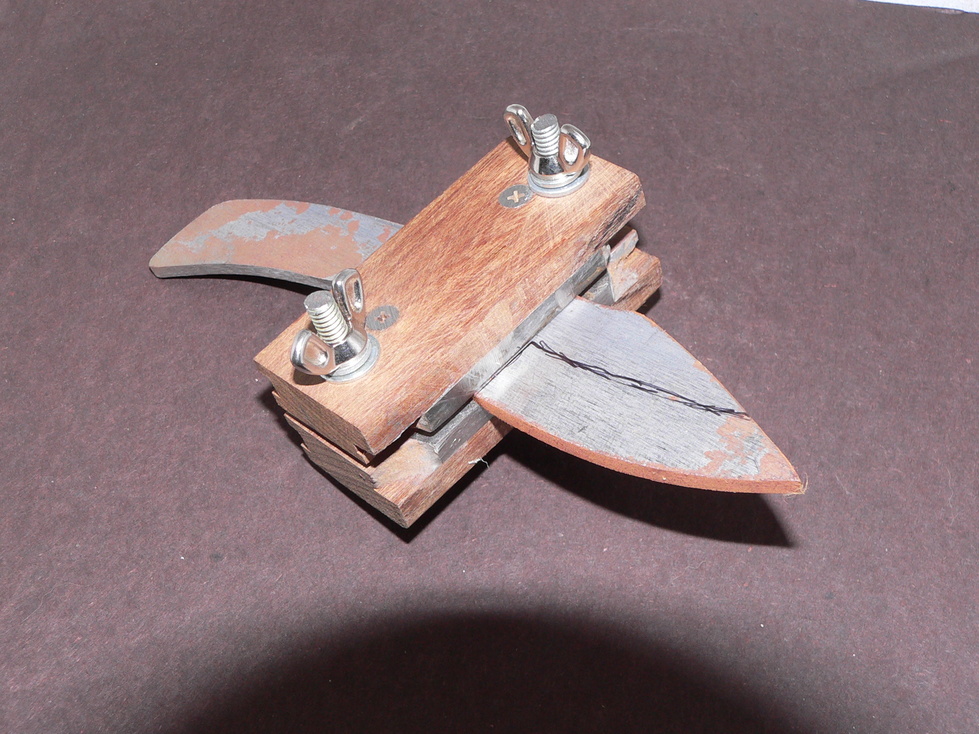
The item to the left with the parallel jaws is a clamp that fits over the knife blade for a couple operations. One is to keep parallel filing grinds on both sides of the knife for the ricasso. It also works well to keep the belt grinder in the same location for each pass over the knife grinder belt. I took a piece of Ipe wood and cut a rabbet along one edge sized for Carbide tooling bits. Then cut it in half so both sides line up. The tooling bits are held in with JB WELD (amazing stuff). The wing nuts tighten the assembly on the knife. The threaded rods are to just to keep the mechanism parallel.
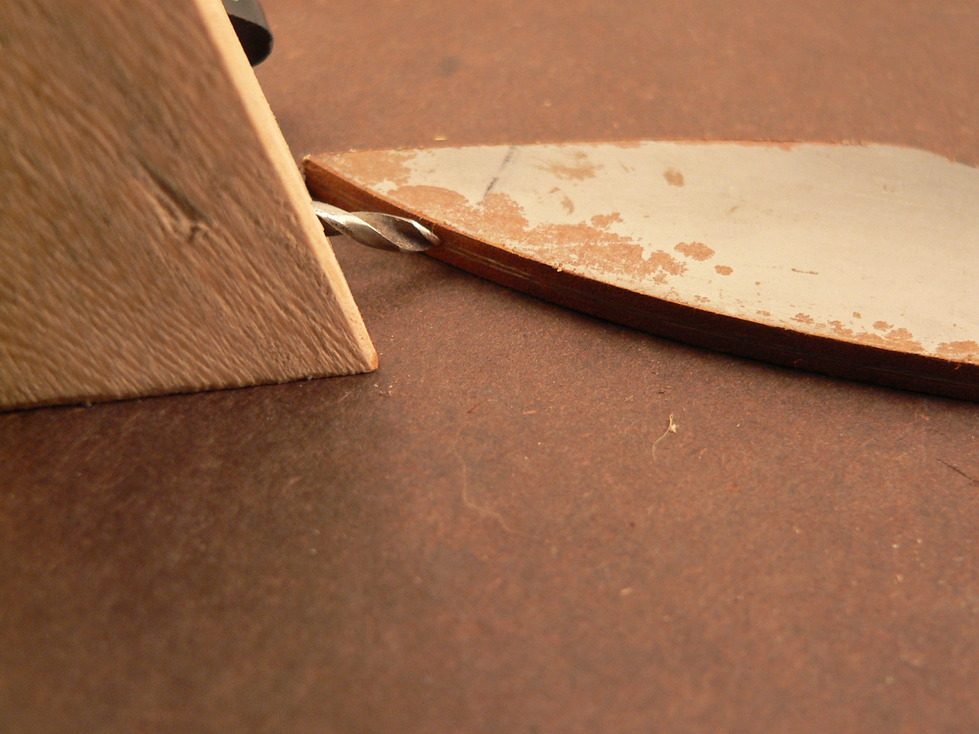
The device with the black knobs is a scribe to mark the half way point on the thickness of the blade. Lay the blade flat and scratch this along its length. Does not need to be perfectly centered, just do both sides and have thin parallel lines to grind towards. The metal point is a ground down broken drill bit.
Edge Scribe
Shoulder Jig
